


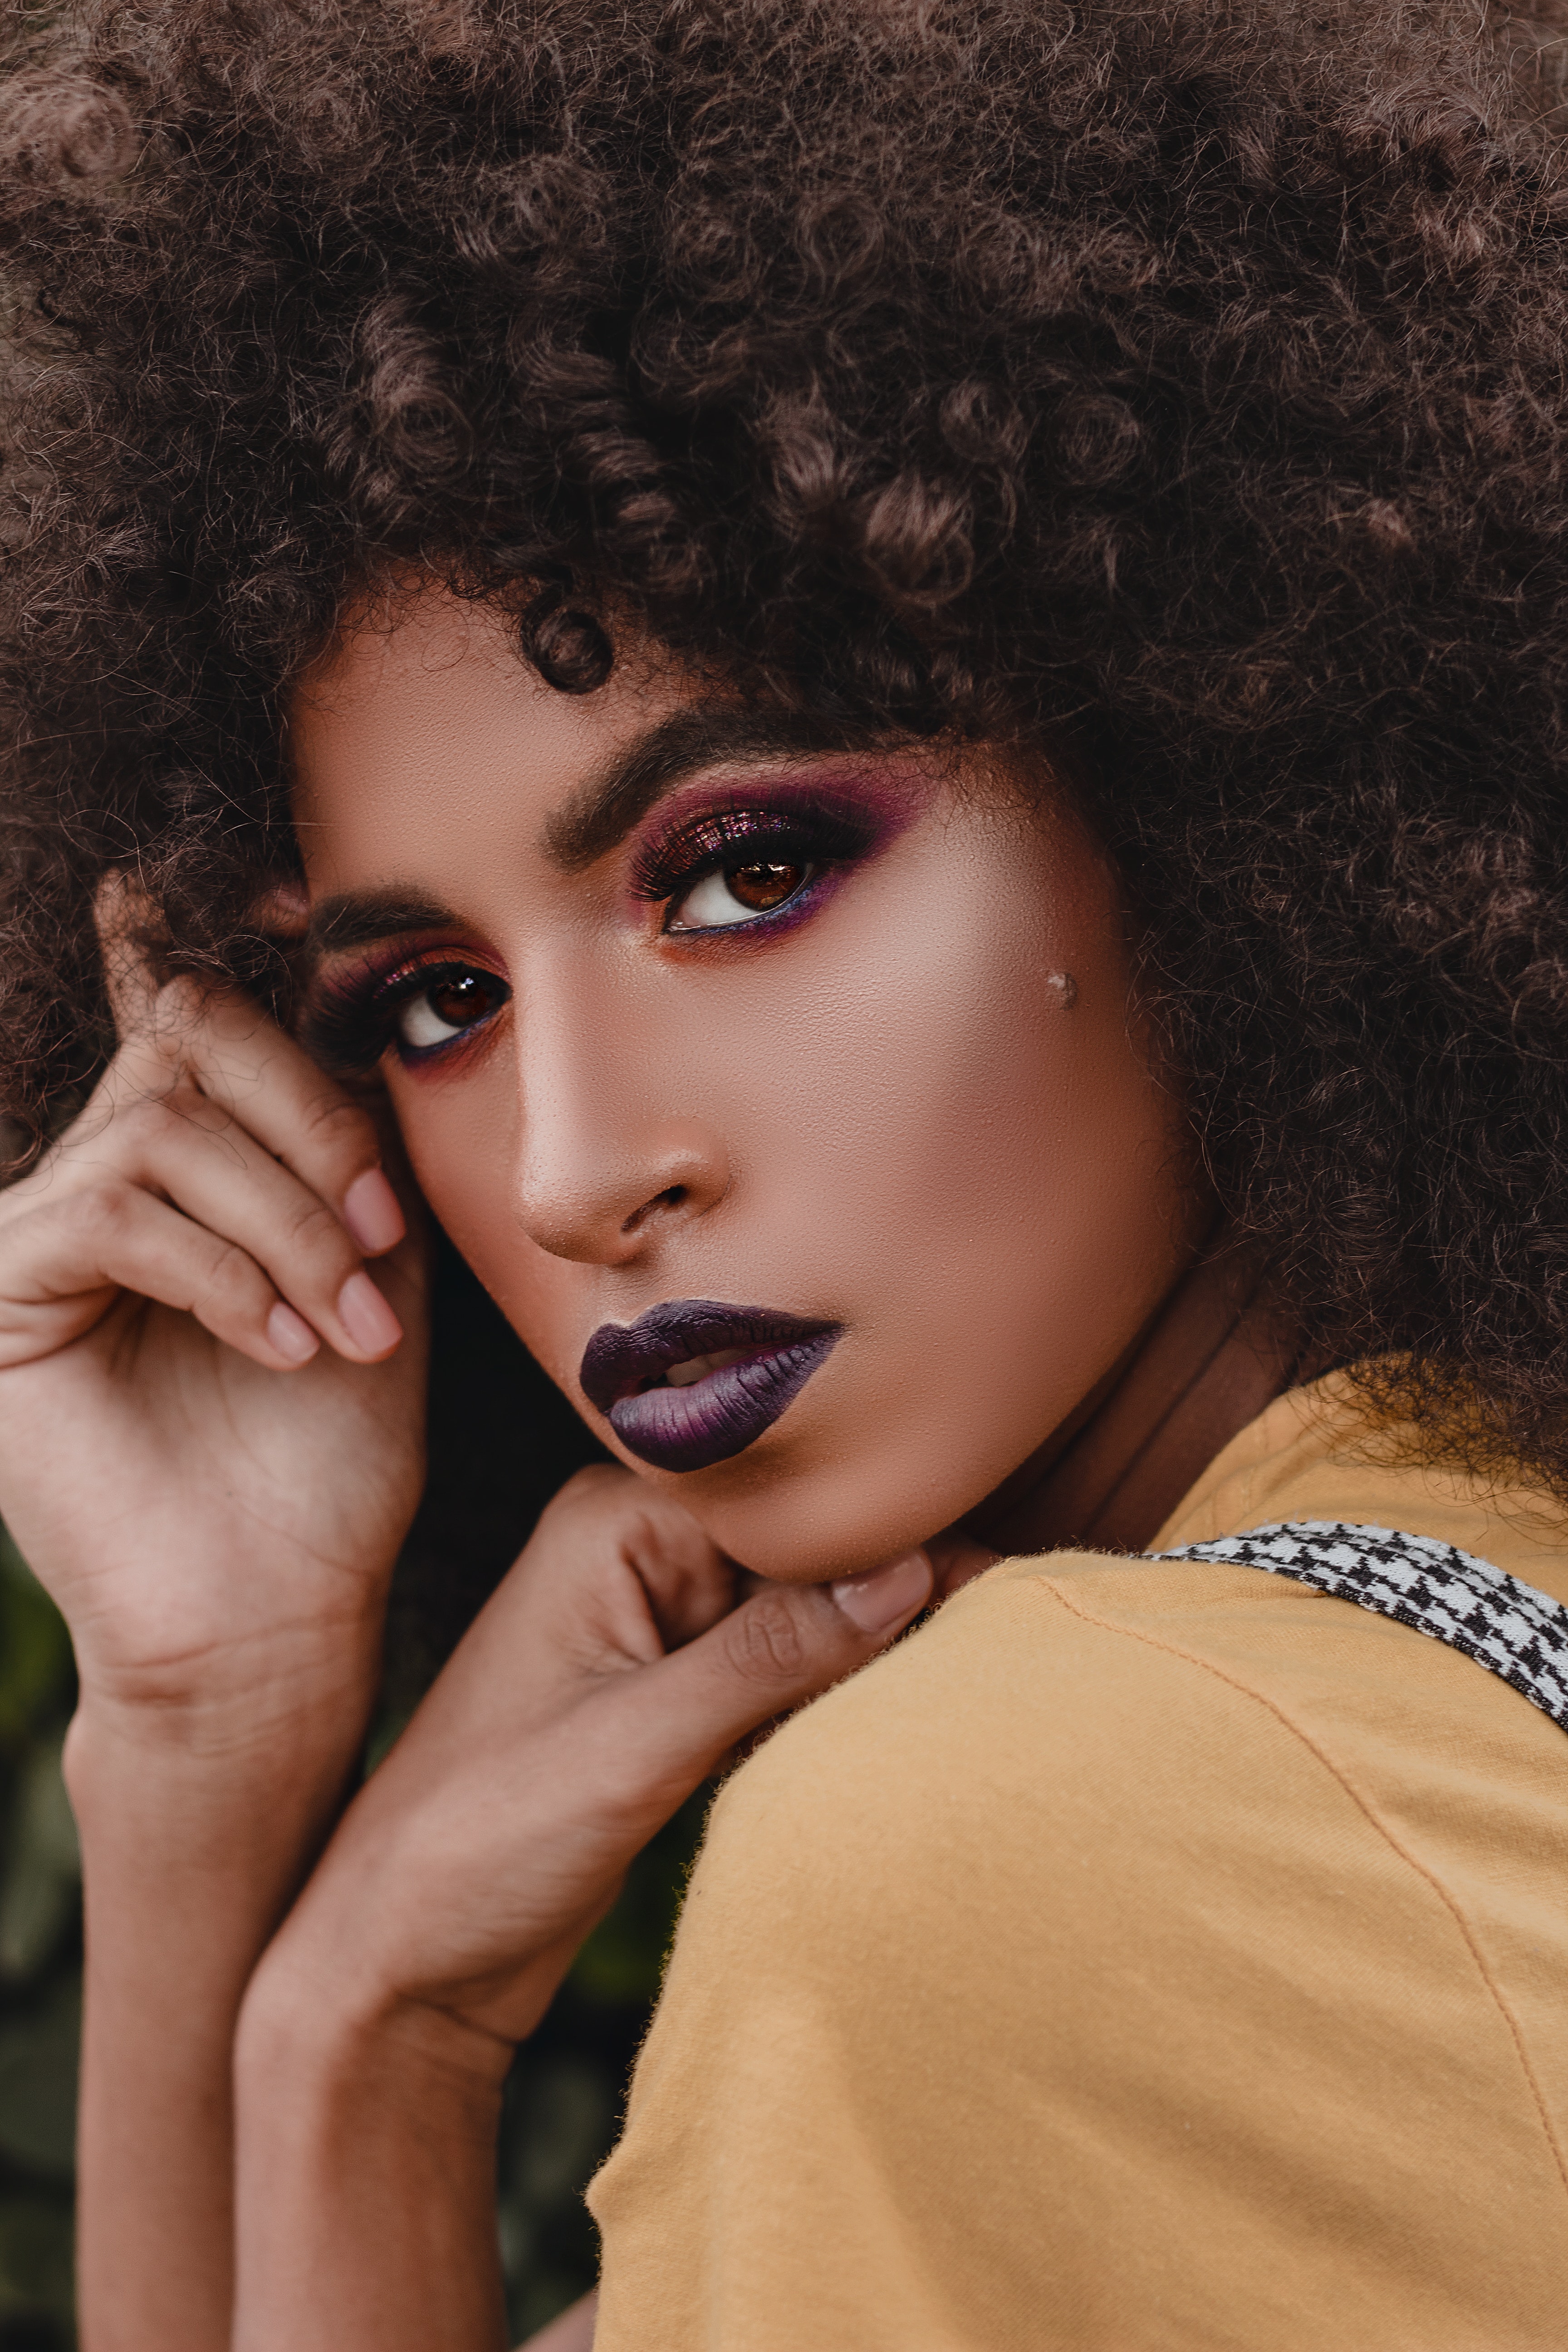
STEPS TO DO A BLUNT CUT TO CURLY HAIR AT HOME
PURE KERATIN on 27th May 2020

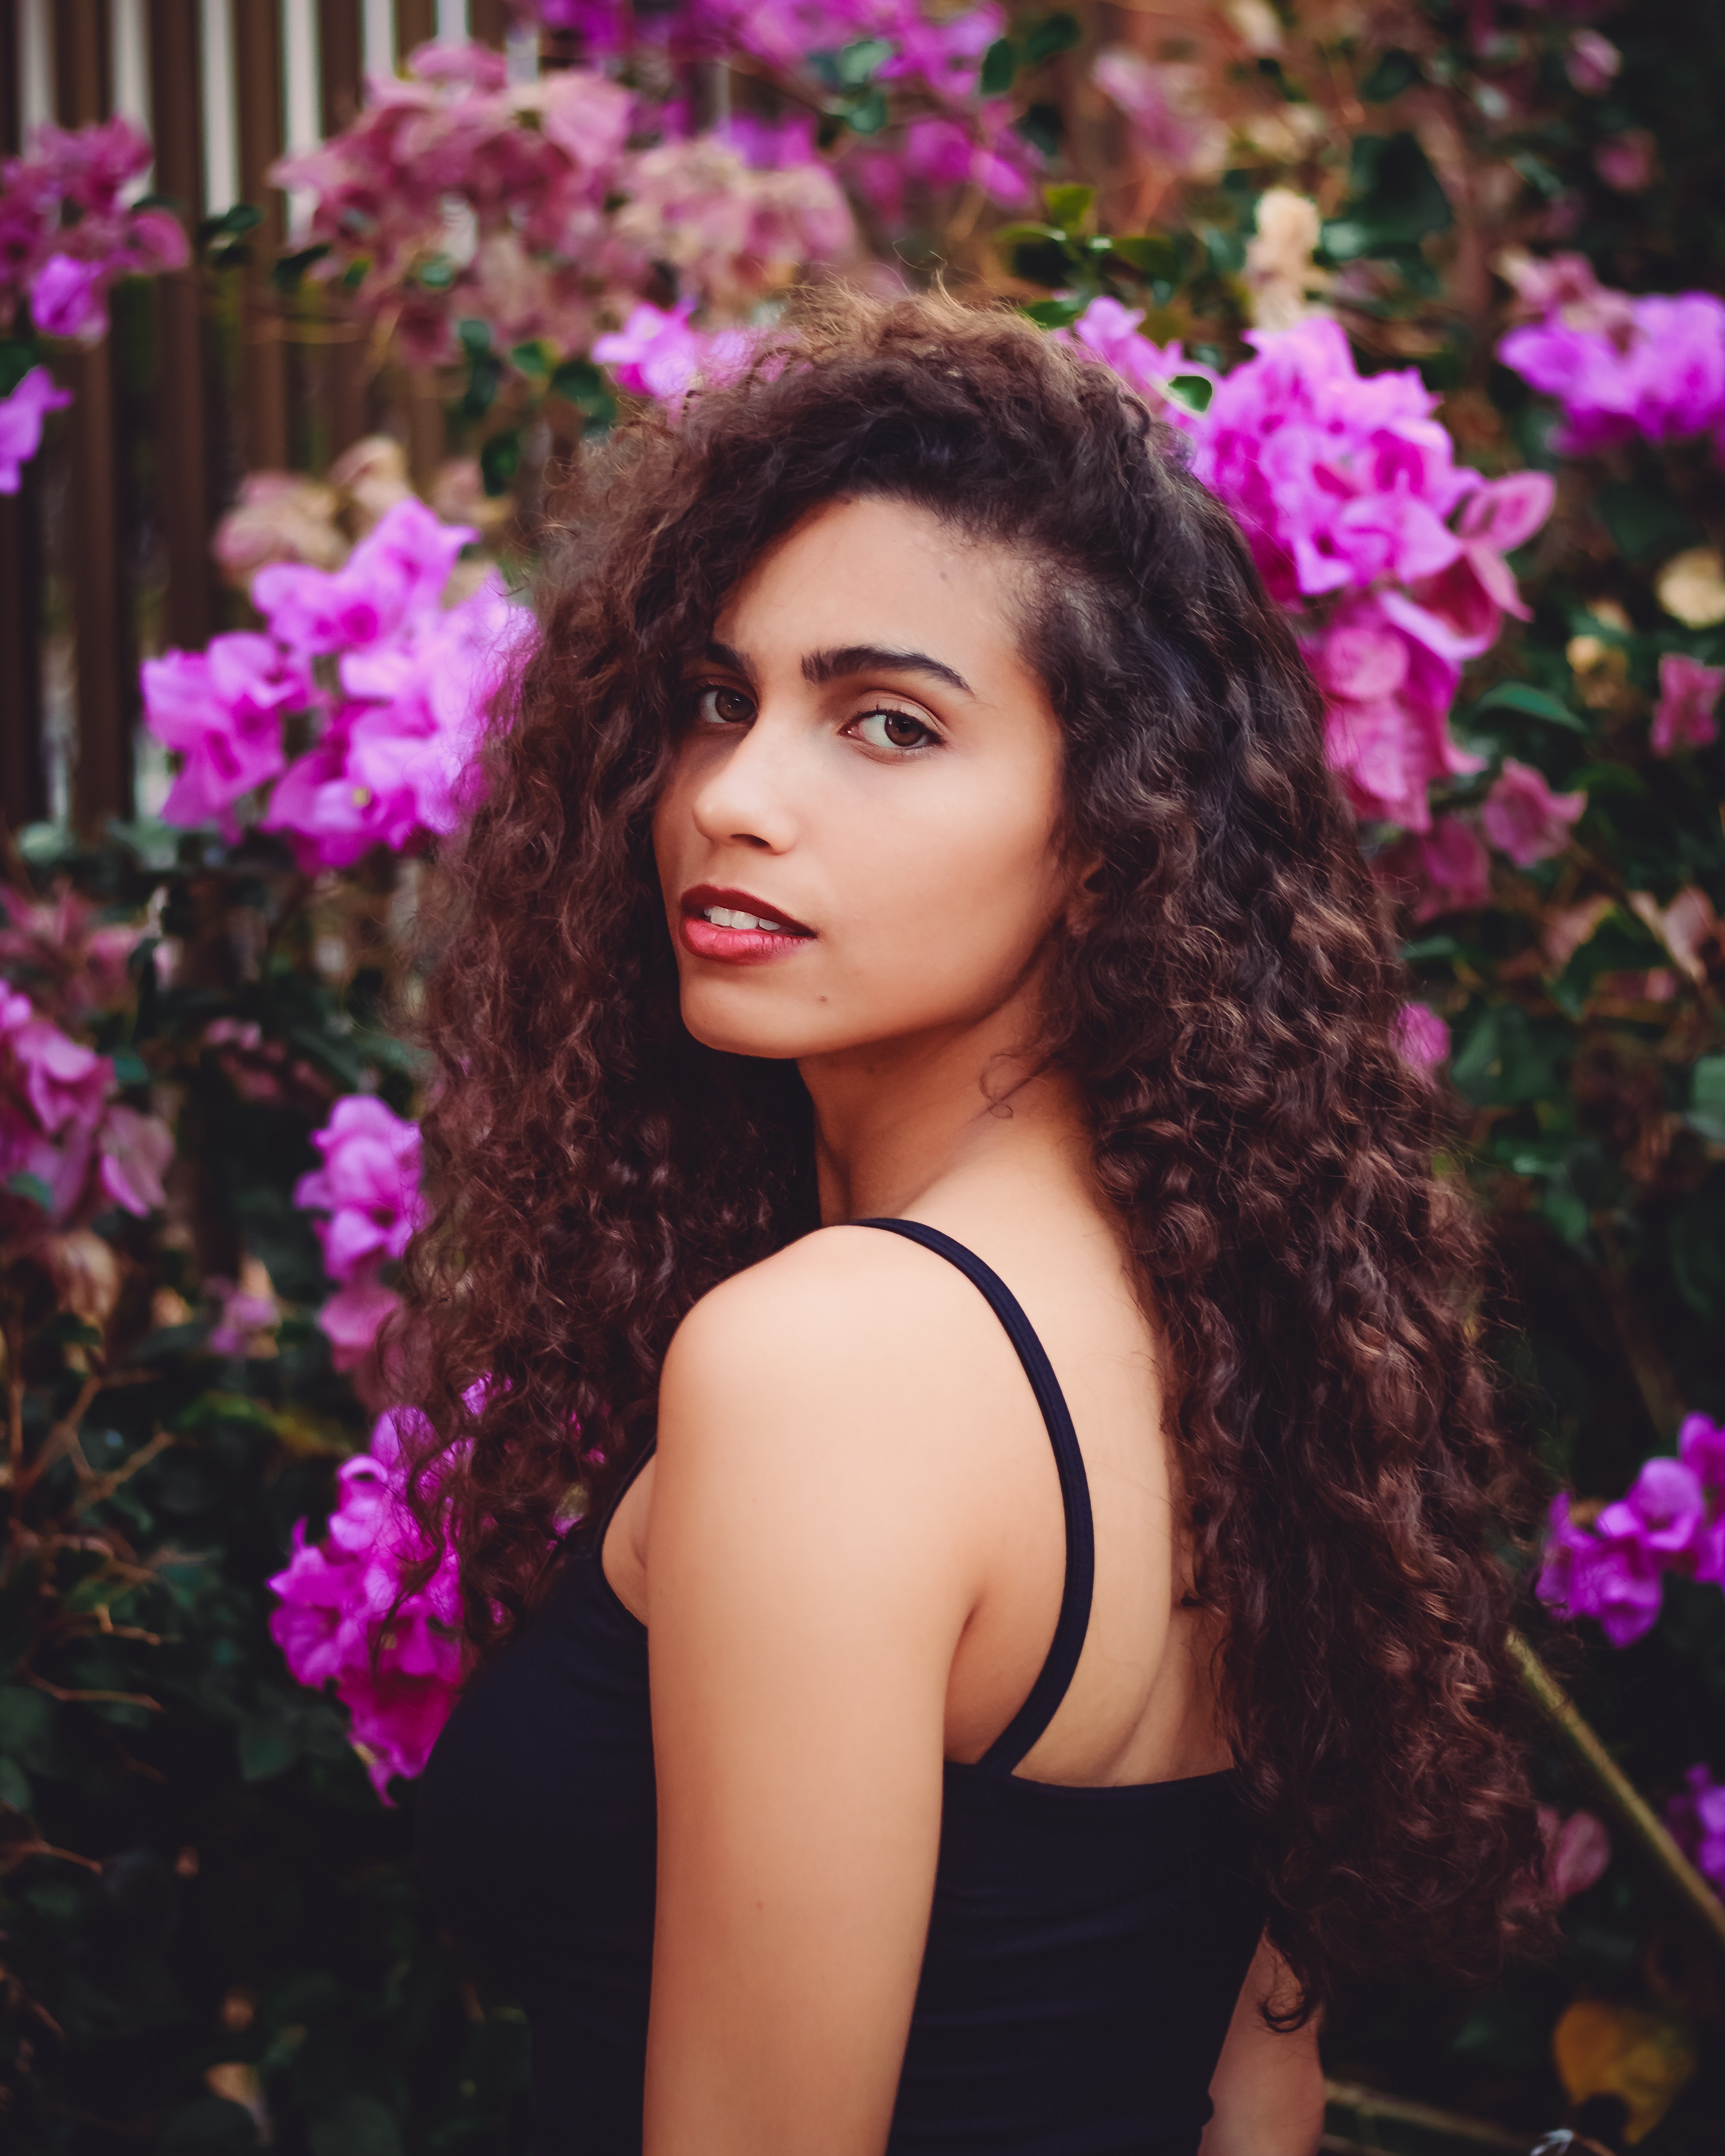
Your new hairstyle will look great if you start with the right cut.
Capturing the very look you want is possible so be encouraged and excited you will find the cut that's right for you.
Get the best curly haircut and your new style will be a breeze to manage.
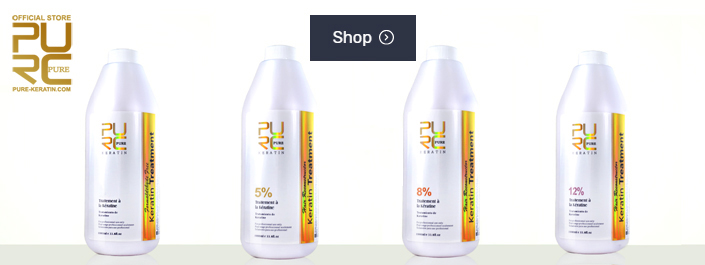
Now that you’ve got the style you’re looking for maintain it with top hair products and key hair care tips.
A) First Goes First
It helps to have a picture of the desired cut in front of you or have a vivid image of the hairstyle in your head.
Make sure the picture is a curly hairstyle. Cutting your curly hair using a straight style as a guide can be misleading. The cut will not look the same.
B) Determine What Cut You Already Have.
Are you slightly changing your current style?or...Creating a brand new cut?
For example, going from a blunt cut to a graduated cut.
Do you need a refresher on haircuts before you can decide?
No problem. Read about the different types of cuts then come back hear when you're done.
Are you done? Great.
Let's look at what you need to cut it yourself.

C) Where To Cut Your Hair At Home?
The best place to cut your curly hair is in the bathroom.
Why the bathroom? Good lighting, large wall mirror(s), and access to water all in one place. Cut it yourself and minimize cleaning time.
D) Things You’ll Need For The Haircut
-Chair or stool for sitting
-Spray pump for water to keep the hair wet while you cut and...
-Hand mirror to see the back of your head.
This next list is all inclusive of hair-cutting tools you may need; it all depends on the cut. A few of these you may already have.
-Clippers with/guard(s)
-Edgers (smaller version of clippers used to remove excess unwanted hair at the neckline and around the ears. Used on very short haircuts.)
-Hair-cutting shears

-Scissors
-Sectioning clamps or clips
-Styling or cutting comb
-Thinning shears (used to remove weight or bulk from the hair)
-Wide-tooth comb
The next three (3) tools are not recommended for use on curly hair.
-Barber comb (the comb’s teeth are too narrow for combing curly hair)
-Straight razor (razor cut on curly hair will weaken the cuticle and cause the hair to frizz)
-Tail comb (can use tail-end of comb to part hair only but the comb-end is too narrow for curly hair)
For demonstration purposes, let's say your hair is shoulder length with no definition, quite frizzy and unmanageable. Cut it yourself and re-gain control of your curly hairdo in an instant.

E) Cut Your Own Blunt Cut
We'll do a blunt cut, cutting the hair one length with zero elevation.
Why a Blunt Cut?
The blunt cut is the simplest cut to master. This is a haircut where all the hair comes to one hanging level, where the hair forms a weight line. On curly hair, this look will appear stacked or graduated even though there is no elevation.
Learn these basic steps to curly hair-cutting while building the confidence to cut it yourself.
1. Put a towel around your shoulders and use your spray pump to wet the hair for control while cutting.
2. Section the hair in 4 sections; using clips to hold in place.
3. Use the point end of the tail comb to make a 1 inch horizontal part at the nape on the back 2 sections. Re-clip the back 2 sections and leave the hair you parted at the base of the nape down.
You are creating a guide for the entire hair length for your blunt cut.
4. Now determine how short you want the cut.
Remember: When your curly hair dries it will be shorter than when wet. So cut the hair slightly longer than intended.
5. Use a wide tooth comb to comb through the hair.
6. Starting in the middle of the sectioned hair you parted at the nape, cut to the desired length. Do not put too much tension on the hair.
Start in the middle of the section and then balance the rest of the section to that initial cut. Keep you head level and do not lean into the cut or lean your head toward the scissors while cutting.
7. Now cut either side of the section the same length as the guide cut in the middle.
Repeat 5-7 until you like the length of the base guide. The hair will appear graduated even though you are cutting it one length.
8. If you are satisfied with the length, take down the back two sections, make a 1 inch horizontal part above the last part at the nape.
9. Comb down the hair with a wide tooth comb. Using the last section as a guide and cut the middle of the new section the same length as the guide section.
10. Cut both sides of the new section the same length as the sides of the last section.
Re-wet the hair if necessary. Use your hand mirror to check your work.
Do you notice a pattern? Part and section the hair, using the previous cuts as a guide, cut the hair until you're done with the back 2 sections.
Use the hand mirror to check your work.
11. Release the front section of the hair. Part a 1 inch horizontal section above the ear. Re-clip the rest of the section.
12. Comb the hair down with the wide tooth comb. Keep your head level and cut the section the same length as the previously cut hair.
13. Now work through the section the same as you did the back two sections.
There is a tendency to comb the hair forward. Be sure to keep the hair level and cut each parted section in line with the ear.
14. Re-dampen the hair to keep it from drying.
15. Use minimal tension when cutting.
Repeat steps 11-12 on the last front section on the opposite side of the head.
When you're finish cutting, use the hand mirror to admire your work.
Beautifully done. And you cut it yourself! You did a marvelous job!
By mastering the simple techniques of a blunt cut, you can easily complete other cuts when you want a design change.
Be sure to use the best hair products and top hair care tips to maintain your new curly haircut.
5 TYPES OF CUTS FOR CURLY HAIR
Besides the Blunt cut, in this post we’ll share with you which other haircuts are also great for curly hair.
1) Asymmetrical
This haircut features unequal proportions designed to balance the facial features. Opposite sides of the hairstyle have different lengths.
2) Graduated (Elevated)
This haircut is the result of cutting the hair at a 45 degree angle (low to medium elevation), causing the hair to have a stacked area around the perimeter. The elevated bob is good example of this cut.
Reminder: Curly hair shrinks after it dries much more than straight hair. This cut will appear shorter when it dries.
3) Layered
This haircut is achieved by cutting the hair in a 90 degree angle (high elevation); resulting in the removal of weight from the hair.
4) Long layered
Haircut features a 180 degree angle; resulting in shorter layers at the top and increasingly longer layers around the perimeter.
5) Uniformed layered
The hair is cut at a 90 degree angle consistently throughout the hair. Curly hair being cut the same length all over may result in a round shape.
These are the basic cuts and there are many variations in between.
When looking for a style you will come across cuts under other names. Keep in mind the basic techniques are the same.
You CAN have the best curly haircut.
