


DIY Keratin Treatment at Home
PURE KERATIN on 24th Apr 2024

DIY Keratin Treatment at Home
Welcome to your guide on how to perform a DIY keratin treatment right at home! If you're looking to achieve salon-smooth hair without stepping out, you're in the right place. In this article, we'll explore what keratin treatment involves, its benefits, and how you can safely do it yourself.
Understanding Keratin Treatments
What is Keratin?
Keratin is a protein that naturally occurs in our hair, skin, and nails. It's essential for hair health, providing the strength and elasticity your hair needs to withstand daily stresses.
How Does Keratin Treatment Work?
A keratin treatment involves applying a keratin-infused product to your hair, which is then sealed in with heat. This process smoothens the cuticles and repairs hair damage, resulting in silky, frizz-free hair.
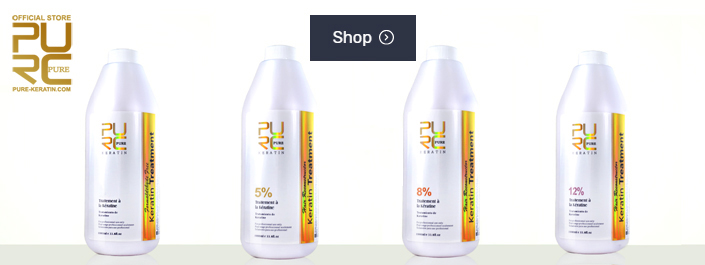
Types of Keratin Treatments
While professional treatments are done in salons, DIY kits are available that allow you to achieve similar results at home. Each type has its pros and cons, which we'll discuss.
Preparing for Your DIY Keratin Treatment
Safety Tips
Before you start, it's crucial to test the treatment on a small section of hair to ensure there are no adverse reactions.
What You Will Need
Gather your keratin treatment kit, a flat iron, a blow dryer, and a few other tools which we'll list down in detail.
Step-by-Step Guide to Applying Your DIY Keratin Treatment
Step 1: Hair Washing
Begin with clean, shampooed hair. Avoid using a conditioner as it can prevent the keratin from adhering properly.
Step 2: Application of the Treatment
Apply the treatment evenly, using gloves, and comb through each section.
Step 3: Sealing in the Treatment
Use a blow dryer and flat iron at the recommended temperature to seal the keratin into your hair strands.
- Aftercare and Maintenance Proper aftercare is key to extending the life of your keratin treatment. We'll guide you through the essential do's and don'ts.
- Common Mistakes to Avoid Avoid common pitfalls that could diminish the effectiveness of your treatment, which we will elaborate on.
- DIY Keratin Alternatives
Homemade Keratin Mask Recipe
For a natural approach, we'll share a homemade keratin mask that you can whip up with ingredients from your kitchen.
What is Keratin?
Keratin is a vital protein found naturally in our hair, skin, and nails. It plays a crucial role in hair health, providing the resilience and elasticity needed to protect against daily wear and tear.
How Does Keratin Treatment Work?
Keratin treatments involve applying a special keratin-based formula to the hair, which is then sealed with heat. This process smooths down the hair cuticles and repairs existing damage, leading to silky, frizz-free locks.
Types of Keratin Treatments
There are professional treatments typically done in salons, but DIY kits are also available for at-home use. Understanding the differences between these options can help you choose the right treatment for your hair needs.
## Preparing for Your DIY Keratin Treatment
Safety Tips
Safety first! Always perform a patch test with the treatment product to avoid any allergic reactions or adverse effects.
What You Will Need
To successfully complete your treatment, you'll need a DIY keratin kit, a good quality flat iron, a blow dryer, a fine-tooth comb, and hair clips for sectioning.
Step-by-Step Guide to Applying Your DIY Keratin Treatment
Step 1: Hair Washing
Start with thoroughly washed hair using a clarifying shampoo to remove any residues that might block the treatment from properly coating the hair strands.
Step 2: Application of the Treatment
Divide your hair into manageable sections, apply the treatment evenly with gloves, and comb through to ensure every strand is covered.
Step 3: Sealing in the Treatment
- Dry your hair with a blow dryer and then use a flat iron set to the appropriate temperature to seal the keratin into the hair shaft. This step is crucial for achieving that lasting smoothness.
- Aftercare and Maintenance Post-treatment care is vital. Avoid washing your hair for several days after the treatment and use sulfate-free shampoos to maximize longevity.
- Common Mistakes to Avoid Make sure not to overuse the product or skip the flat iron step, as these are common mistakes that can significantly reduce the effectiveness of your treatment.
- DIY Keratin Alternatives
Homemade Keratin Mask Recipe
If you prefer a more natural approach, here’s a simple recipe for a homemade keratin mask:
- 1 egg yolk (rich in proteins)
- 2 tablespoons of coconut oil (helps in protein retention)
- 1 tablespoon of honey (for shine and moisture)
Mix these ingredients together, apply to your hair, leave on for 30 minutes, then rinse thoroughly.
Conclusion With the right preparation and application, a DIY keratin treatment can be a fantastic way to achieve smooth, frizz-free hair at home. Remember to follow the steps carefully and enjoy your beautiful, sleek locks!
FAQs
- How long does a DIY keratin treatment last?
- Typically, a DIY keratin treatment can last up to 2 to 3 months, depending on your hair care routine and the products used.
- Can I wash my hair immediately after a keratin treatment?
- It's recommended to wait at least 48 hours before washing your hair to allow the keratin to fully bond with the hair fibers.
- What are the signs that my hair needs a keratin treatment?
- Signs include frizz, tangles, and an overall dull, dry appearance.
- Are there any side effects of doing a keratin treatment at home?
- If not done correctly, you might experience hair breakage or an uneven texture. Always follow the product instructions and proper technique.
- How often can I repeat my DIY keratin treatment?
- It's safe to repeat every 3 to 4 months, depending on your hair’s growth and condition.
