


Tips for doing keratin treatment at home?
PURE KERATIN on 8th Jan 2026

Ultimate At‑Home Keratin Treatment Guide – Tips & Step‑by‑Step Instructions
Keratin treatments are increasingly popular for smoothing, strengthening, and controlling frizz in hair without daily styling hassles. While professional salon treatments are effective, many people choose to perform keratin treatments at home to save on cost and time. This comprehensive guide walks you through the entire process of preparing, applying, and maintaining a keratin treatment at home—with safety tips, product advice, and aftercare recommendations to achieve salon‑quality results.
Understanding Keratin Treatments
Keratin is a structural protein naturally found in hair that helps build strength and resilience. When applied as a treatment, keratin products coat the hair shaft to seal cuticles and smooth frizz, resulting in shinier, more manageable hair. (Medical News Today)
At‑home keratin treatments are designed to be safer and more user‑friendly than some professional versions, often with reduced or no formaldehyde. However, even home kits require careful application and appropriate tools to avoid damage. (Byrdie)
Before You Begin: Preparation and Safety
Proper preparation is the foundation of a successful at‑home keratin treatment. Unlike regular conditioning masks, keratin treatments work best when applied to clean, product‑free hair.
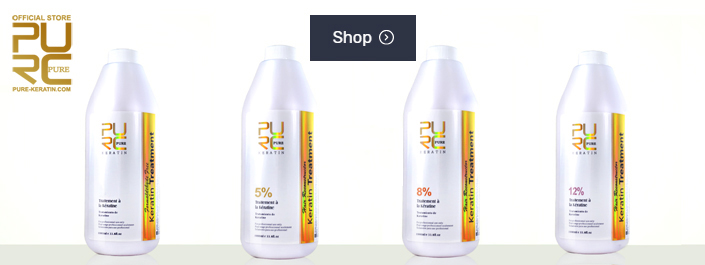
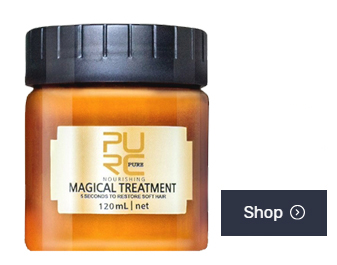
1. Choose the Right Keratin Product
Select a keratin treatment kit formulated for home use. These products are typically gentler than professional salon formulas and often do not contain high levels of formaldehyde or other harsh chemicals. Always read ingredient lists and safety instructions before purchase.
For those with sensitivities or respiratory concerns, consider choosing formaldehyde‑free formulas to reduce potential irritation. (Women’s Health)
2. Cleanse Hair with a Clarifying Shampoo
Start with a thorough cleanse using a clarifying shampoo to remove oils, dirt, and product buildup that can block the keratin from penetrating the hair cuticle.
Clarifying shampoos ensure the hair surface is clean, preparing it for even keratin application. Avoid conditioners before treatment, as residues can interfere with results.
3. Dry and Section the Hair
After washing, gently towel dry your hair until it is damp, not dripping wet. Excess moisture dilutes the keratin product and reduces its effectiveness.
Divide your hair into manageable sections—typically four to six—using clips. Sectioning helps ensure even distribution of the product across all strands.
Step‑by‑Step At‑Home Keratin Treatment
The following steps provide a complete walkthrough of the at‑home keratin treatment process:
1. Apply the Keratin Treatment
Working section by section, apply the keratin product from roots to tips using a brush or your fingers. Avoid applying too close to the scalp to minimize irritation and grease buildup.
Comb each section after application to spread the product evenly throughout the hair shaft. Proper distribution prevents patchy results.
2. Let the Product Sit
After application, allow the keratin treatment to penetrate for the recommended time, typically 20‑40 minutes. This step ensures that the protein bonds with the hair, creating long‑lasting effects.
3. Rinse and Towel Dry
Rinse your hair thoroughly with water to remove excess product. Some at‑home kits advise rinsing before blow‑drying, while others recommend no rinse—always follow your specific product’s instructions.
Towel dry again to prepare for the heat sealing steps.
4. Blow Dry Completely
Blow dry your hair until it is fully dry. A smooth, complete blow‑dry helps the keratin adhere better and prepares hair for heat‑sealing with a flat iron.
Use a medium heat setting and a brush to support straightening while preventing heat damage. Avoid extremely high temperatures at this stage.
5. Seal with a Flat Iron
This step is critical: heat seals the keratin into the hair cuticle. Using a flat iron set to the temperature recommended by your treatment kit, pass the iron slowly over small sections of hair multiple times until the strands are smooth.
For many kits, ideal ironing temperatures range between 180°C and 230°C (356°F to 446°F), but always follow your product’s guidelines.
Aftercare: Maximizing and Maintaining Results
Proper aftercare determines how long your keratin treatment lasts and whether your hair stays healthy and vibrant.
1. First 48‑72 Hours Post‑Treatment
Avoid washing, tying, clipping, or tucking hair during this period to allow keratin bonds to set fully.
Sweat, water, or moisture can interrupt the curing process, reducing effectiveness.
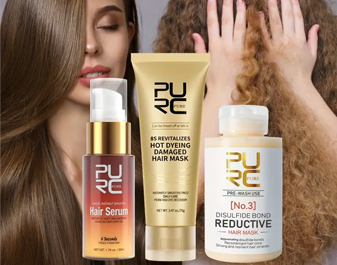
2. Use Sulfate‑Free Hair Products
After the initial period, switch to sulfate‑free shampoos and conditioners to protect the keratin layer. Sulfates strip protein coatings and will prematurely fade results.
3. Minimize Heat Styling
Keratin already provides smoother hair; frequent use of flat irons or curling tools can weaken bonds and dry hair over time.
4. Protect Hair from Environmental Factors
Sun exposure, chlorine, and saltwater can degrade keratin. Wear protective styles, cover your hair outdoors, and consider swim caps when swimming.
Tips for Best Results and Common Pitfalls
- Follow Instructions Carefully: Each at‑home keratin kit has specific timing and heat requirements—follow them closely to avoid damage or ineffective results.
- Avoid Overusing Keratin: Too frequent treatments or excessive keratin products can build up a protein layer that makes hair feel limp and resist moisture. Balance with hydrating masks if needed.
- Be Wary of Harsh Chemicals: Some salon treatments contain chemicals that can irritate the scalp or airways; at‑home kits are generally milder, but always work in well‑ventilated areas.
- Trim Split Ends First: Cutting off damaged ends before treatment enhances smooth results and prevents frizz from rebounding quickly.
Potential Risks and When to Seek Professional Advice
While at‑home keratin treatments are designed to be safer, risks remain—especially when heat tools are involved. Excessive heat can dry and weaken hair, particularly fine or fragile strands.
If you experience scalp irritation, intense dryness, or unexpected hair breakage, discontinue use and consider a professional consultation. Some individuals with sensitive skin or respiratory conditions might react to treatment chemicals, even in home products.
Conclusion
An at‑home keratin treatment can deliver smooth, frizz‑free, and more manageable hair when applied correctly. The key lies in thorough preparation, careful application, proper aftercare, and realistic expectations. With the right product and attention to detail, you can achieve salon‑like results right from your home.
Looking for trusted keratin treatments with 30+ years of expertise? Visit Pure-Keratin.com — your one-stop destination for salon-quality keratin kits, aftercare products, and expert support.
