Keratin kit at home Treatement: The ultimate blog's post
PURE KERATIN on 25th May 2023
- Introduction
- Understanding Keratin Treatment
- What is Keratin?
- How does Keratin Treatment work?
- Benefits of Keratin Kit at Home Treatment
- Convenience and Cost-effectiveness
- Safe and Easy to Use
- Long-lasting Results
- Step-by-Step Guide to Using a Keratin Kit at Home
- Preparing Your Hair
- Applying the Keratin Treatment
- Processing and Rinse-off
- Tips for Successful At-Home Keratin Treatment
- Choosing the Right Kit
- Following Instructions Carefully
- Maintaining Your Keratin-treated Hair
- Precautions and Potential Side Effects
- Allergic Reactions
- Eye and Skin Irritation
- Inhalation Risks
- Frequently Asked Questions (FAQs)
- Conclusion
KERATIN KIT AT HOME TREATMENT
Keratin treatments have gained immense popularity in the world of hair care. Achieving smooth, frizz-free, and manageable hair is no longer limited to salon visits. With the advent of keratin kit at home treatments, you can now transform your hair in the comfort of your own home. In this article, we will explore the benefits, step-by-step guide, and precautions associated with using a keratin kit at home.
1. Introduction
Whether you have unruly curls, frizzy hair, or damaged locks, keratin treatment offers a solution that can transform your hair into silky, luscious tresses. Traditionally, keratin treatments were only available in salons, requiring multiple appointments and hefty costs. However, with advancements in hair care technology, you can now experience the benefits of a keratin treatment from the convenience of your home.
2. Understanding Keratin Treatment
What is Keratin?
Keratin is a protein naturally found in our hair, skin, and nails. It acts as a protective shield, strengthening and repairing damaged hair. Over time, due to exposure to environmental factors, heat styling, chemical treatments, and everyday wear and tear, the keratin in our hair gets depleted, leading to frizz, dryness, and dullness.
How does Keratin Treatment work?
Keratin treatments involve the application of a specially formulated keratin solution to the hair. The treatment works by infusing keratin into the hair strands, filling in the gaps and creating a smooth outer layer. This process helps to repair damaged hair, reduce frizz, and make your hair more manageable and easier to style.
3. Benefits of Keratin Kit at Home Treatment
Using a keratin kit at home offers several advantages over salon treatments. Let's explore some of the key benefits:
Convenience and Cost-effectiveness
One of the primary benefits of using a keratin kit at home is the convenience it offers. You can schedule the treatment according to your own time and preferences, without the need to visit a salon. Additionally, DIY keratin kits are more cost-effective compared to salon treatments, allowing you to achieve salon-like results at a fraction of the cost.
Safe and Easy to Use
Keratin kits designed for home use are formulated with user-friendliness in mind. They come with detailed instructions, making the application process simple and straightforward. These kits are specifically developed to ensure safety during the treatment, providing you with a hassle-free experience.
Long-lasting Results
With proper care and maintenance, the results of a keratin kit at home treatment can last for several weeks. The keratin coating on the hair gradually wears off, and the treatment can be repeated as needed to maintain the desired smoothness and manageability.
4. Step-by-Step Guide to Using a Keratin Kit at Home
To achieve optimal results with your keratin kit at home, follow these step-by-step instructions:
Preparing Your Hair
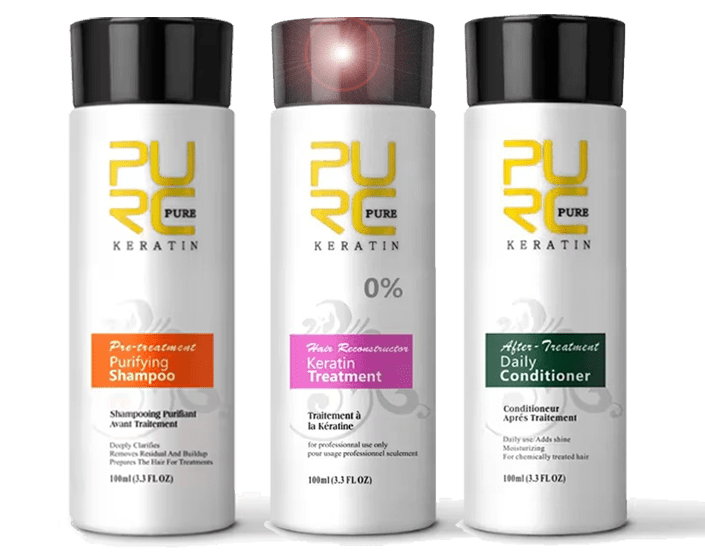
Before applying the keratin treatment, it is essential to prepare your hair properly. Start by clarifying your hair with a clarifying shampoo to remove any product buildup and open up the hair cuticles. Thoroughly rinse your hair and towel-dry it, ensuring it is damp but not dripping wet.
Applying the Keratin Treatment
Section your hair into manageable parts. Begin applying the keratin treatment from the roots to the ends, ensuring even distribution. Use a wide-tooth comb to comb through each section, allowing the product to penetrate the hair strands effectively. Continue this process until all your hair is coated with the keratin treatment.
Processing and Rinse-off
Once you have applied the keratin treatment, cover your hair with a shower cap or plastic wrap to create a controlled environment. Follow the instructions provided with the kit regarding the processing time. After the required time has elapsed, rinse your hair thoroughly with water. You may need to use a sulfate-free shampoo and conditioner to complete the treatment.
5. Tips for Successful At-Home Keratin Treatment
To ensure a successful keratin treatment at home, consider the following tips:
Choosing the Right Kit
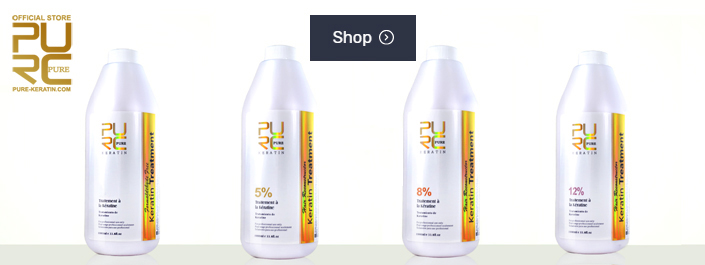
Select a keratin kit that is suitable for your hair type and desired results. Different kits offer varying levels of smoothing and straightening, so it's essential to choose one that aligns with your preferences.
Following Instructions Carefully
Read and follow the instructions provided with your keratin kit meticulously. Pay attention to the recommended processing time, application techniques, and any specific precautions mentioned.
Maintaining Your Keratin-treated Hair
After the treatment, it is crucial to maintain your keratin-treated hair properly. Use sulfate-free shampoos and conditioners specifically formulated for keratin-treated hair. Avoid excessive heat styling and protect your hair from chlorine and saltwater to prolong the longevity of the treatment.
6. Precautions and Potential Side Effects
While keratin treatments are generally safe, it's important to be aware of potential side effects and take necessary precautions:
Allergic Reactions
Before using any keratin product, perform a patch test to check for any allergic reactions. Apply a small amount of the product on your skin and observe for any signs of irritation or allergic response.
Eye and Skin Irritation
During the application process, avoid contact with your eyes and skin. In case of accidental contact, rinse immediately with plenty of water. If irritation persists, seek medical advice.
Inhalation Risks
When applying the keratin treatment, ensure proper ventilation in the room. Avoid inhaling the fumes or vapors emitted by the product. If you experience breathing difficulties or discomfort, move to a well-ventilated area.
7. Frequently Asked Questions (FAQs)
- Q: How long does a keratin treatment at home last?
- A: The duration of the treatment's effects varies depending on various factors, but it can typically last for several weeks.
- Q: Can I color my hair before or after a keratin treatment?
- A: It is generally recommended to color your hair either before the keratin treatment or two weeks after to ensure optimal results.
- Q: Can I swim or wash my hair immediately after the treatment?
- A: It is advisable to wait at least 48 to 72 hours after the treatment before exposing your hair to water or washing it.
- Q: Will a keratin treatment make my hair completely straight?
- A: While keratin treatments can significantly reduce frizz and straighten the hair, the degree of straightening may vary depending on your hair's natural texture and the specific treatment used.
- Q: Can I use a keratin kit at home on chemically treated hair?
- A: Yes, you can use a keratin kit on chemically treated hair, but it's important to consult the instructions and choose a kit suitable for your specific hair condition.
8. Conclusion
Keratin kit at home treatments provide a convenient and cost-effective way to transform your hair into smooth, manageable locks. By understanding the benefits, following a step-by-step guide, and taking necessary precautions, you can achieve salon-like results in the comfort of your own home. Embrace the power of keratin and enjoy the confidence that comes with healthy, beautiful hair.


